Stage 1: Planning
Project Planning Tips
Page steps after requirement clarification
After submitting your initial prompt, superun will clarify requirements and then enter the page steps stage. At this stage, you can choose different actions based on your situation.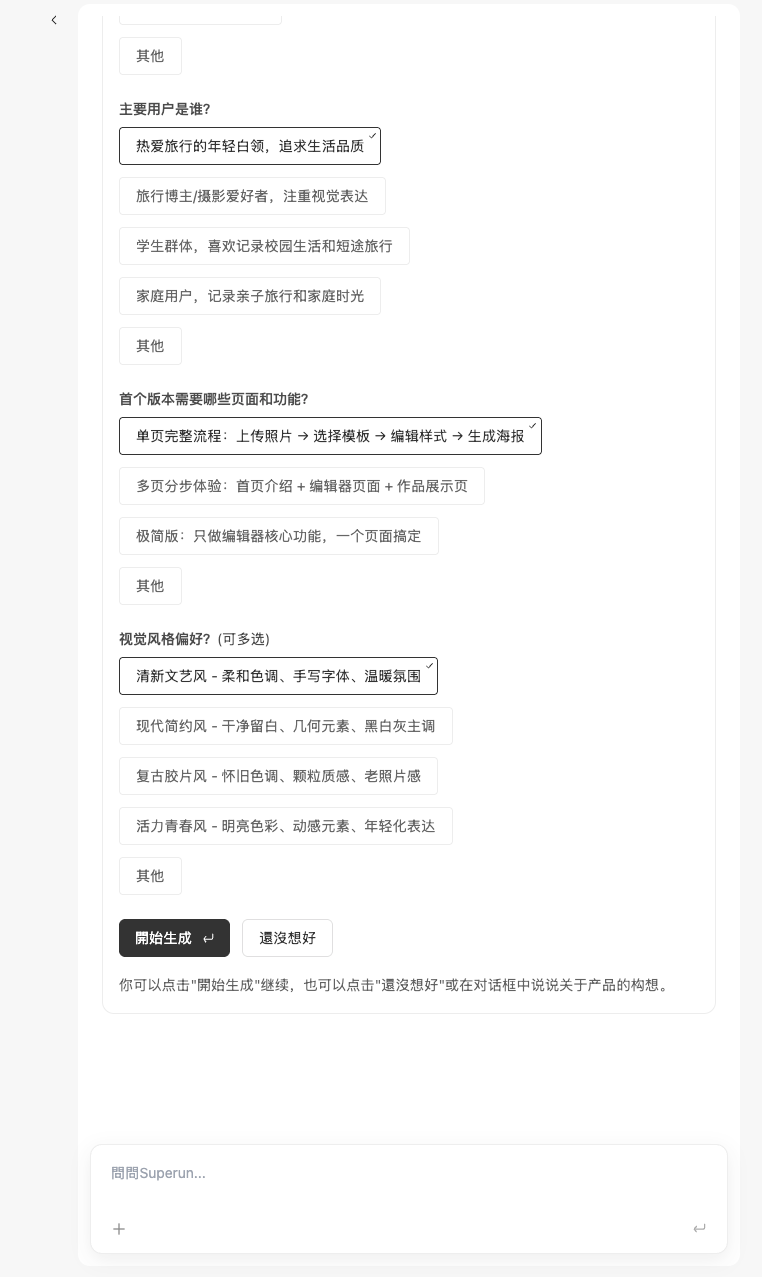 Action options:
-
Matches expectations, start generation directly
- If the page steps match your expectations, you can directly click the “Start Generation” button
- The system will proceed with the generation flow based on these steps
-
Doesn’t match expectations, but unsure how to describe
- If it doesn’t match your expectations but you’re unsure how to describe the issue
- You can click the “Not sure yet” button
- The model will provide you with new options to choose from
-
Have your own ideas, want to adjust
- If you have your own ideas about the page steps or need adjustments
- You can directly input your requirements in the dialog box
- The model will combine your description and generate new options
💡 Tip: Make full use of the requirement clarification stage to make subsequent generation more aligned with your expectations. If unsatisfied, don’t rush to continue—clarify first, then proceed to the next step.
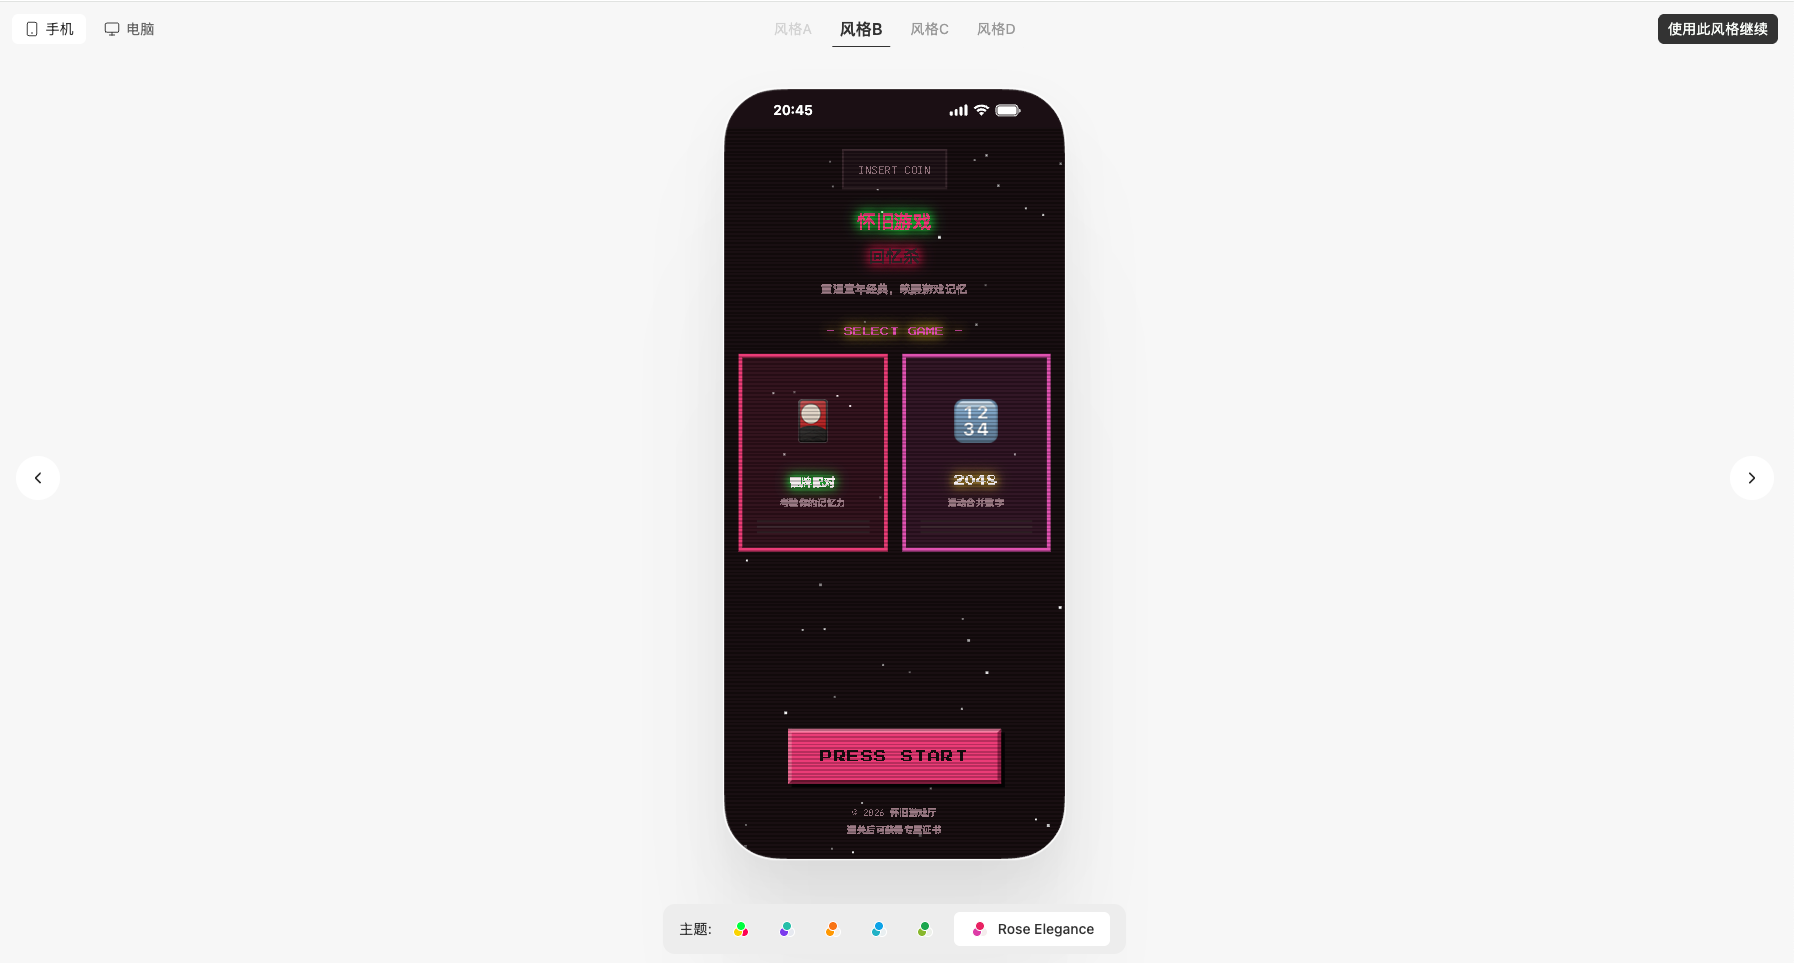
Style selection and theme preview
After the system generates 4 style options, you can interact with them to find your preferred style and theme.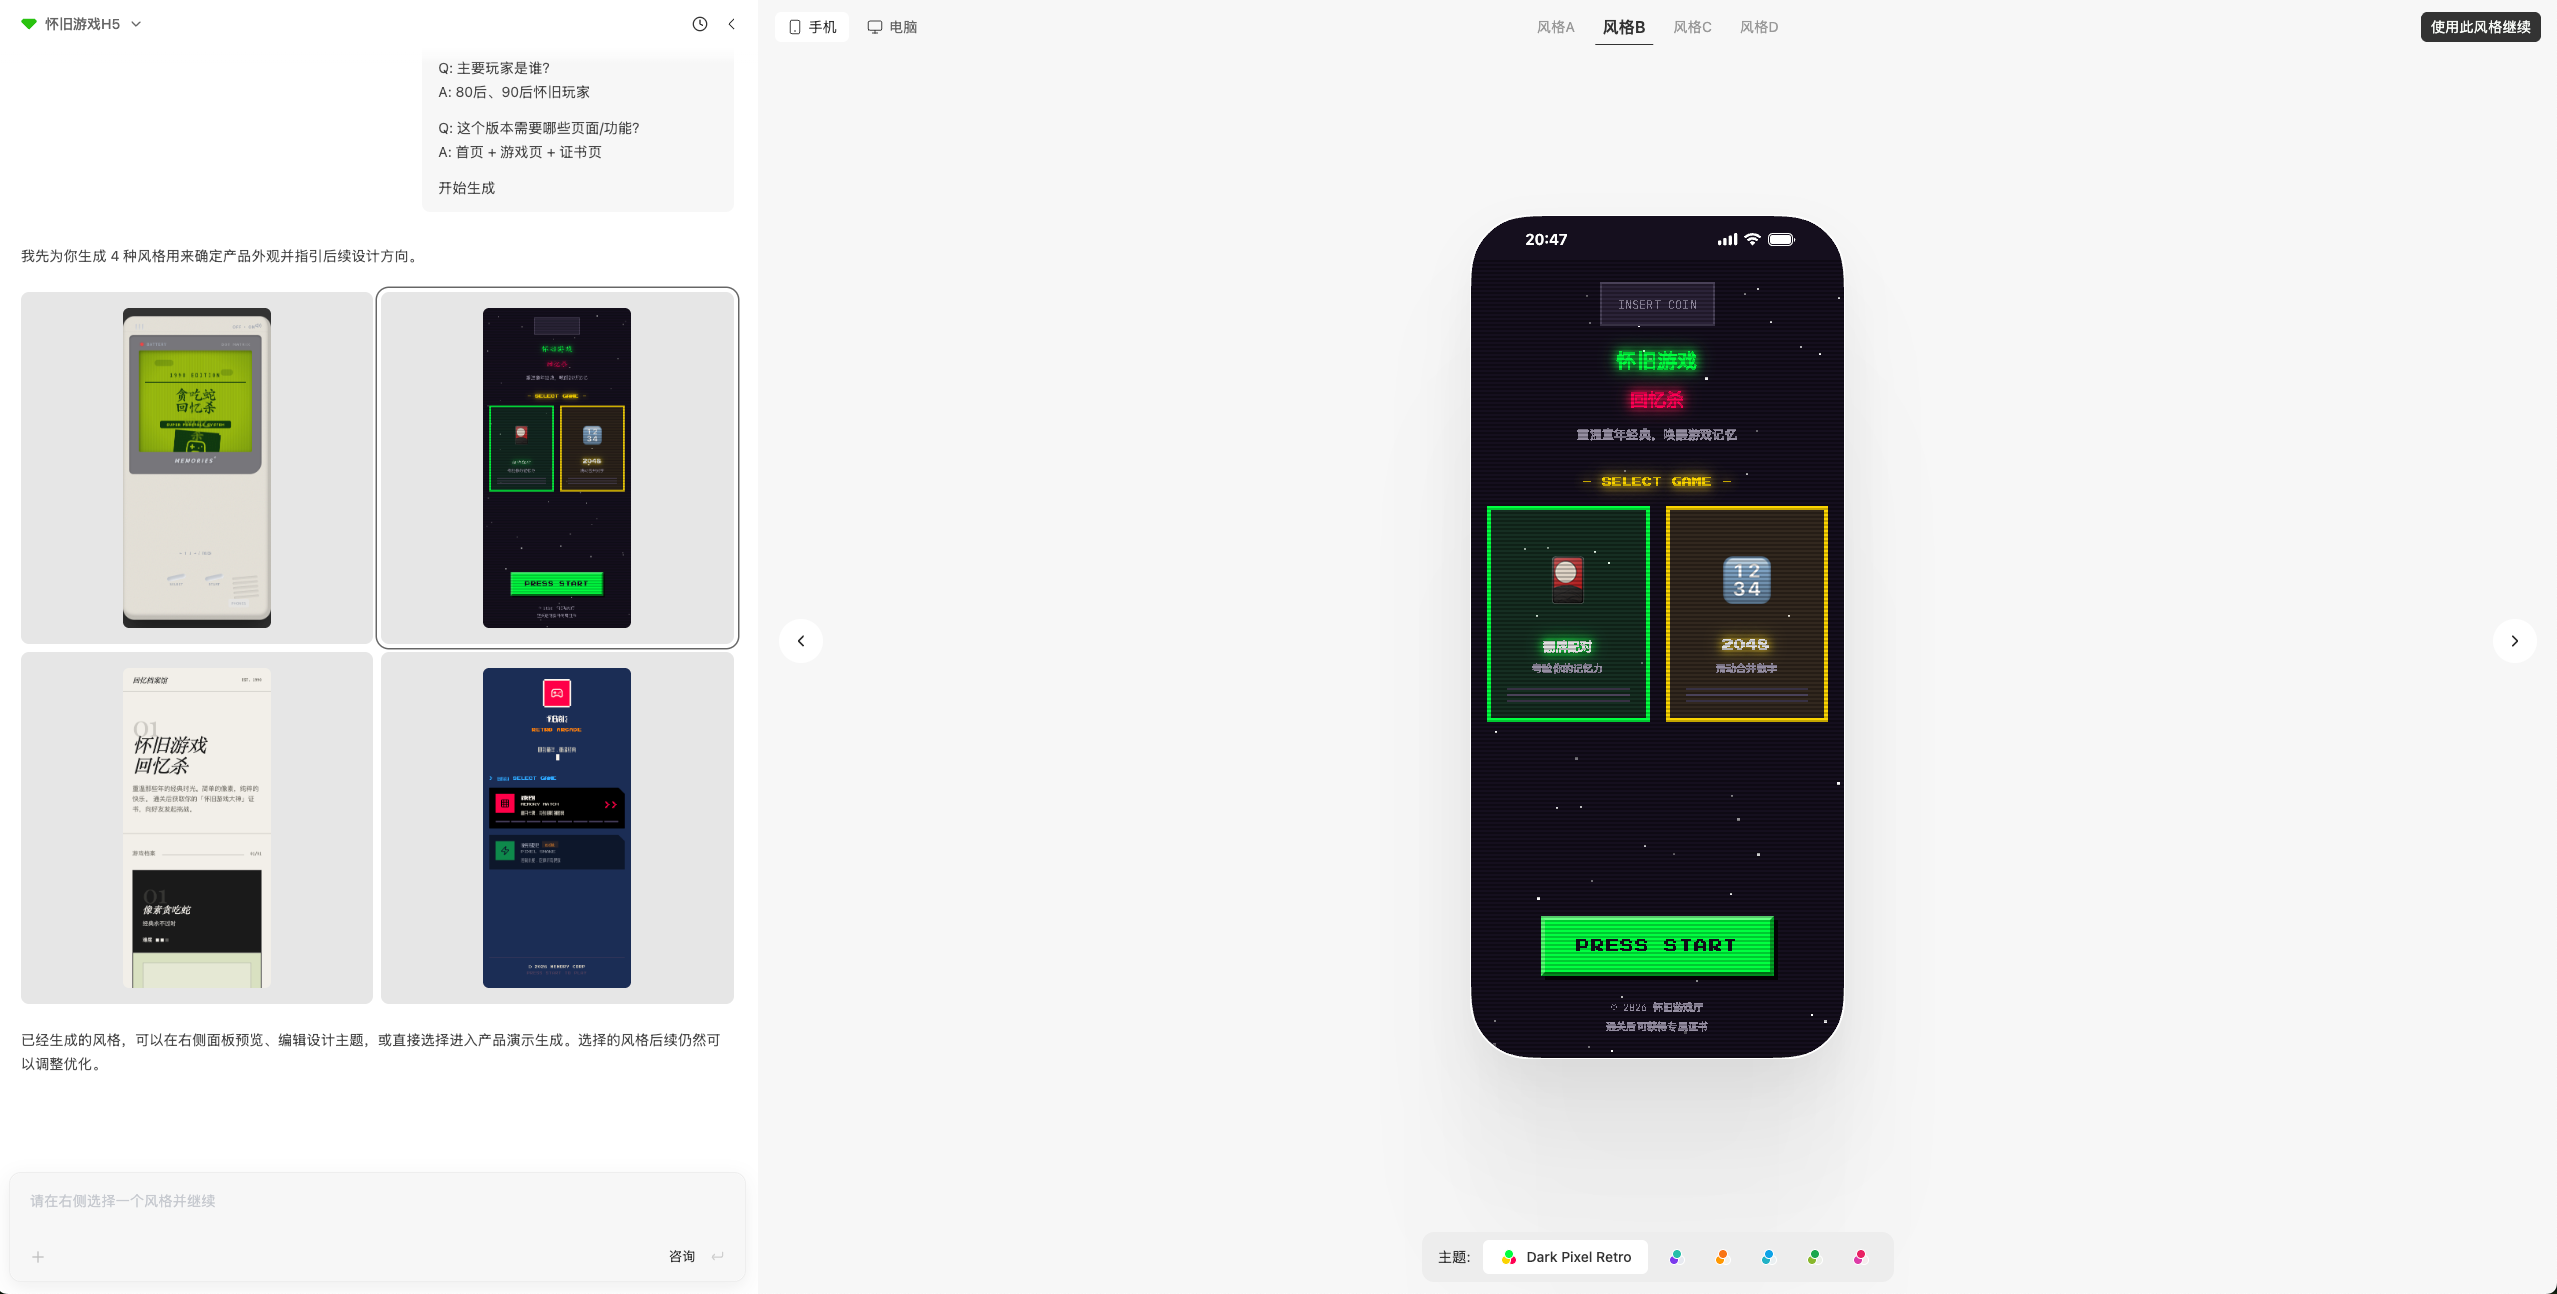 How to use:
-
Select a style
- Click on any of the 4 generated styles to select it
- Each style represents a different design direction
-
Preview themes
- There is a theme color selector at the bottom of the page
- Slide the theme color selector to see how different themes look with the selected style
-
Apply a theme
- Click on a theme to select and apply it directly
- The theme will be immediately applied to the currently selected style
-
Confirm and continue
- Once you’ve confirmed both the style and theme match your preferences
- Click the “Continue with this style” button in the top right corner
- The system will proceed to generate your application with your selected style and theme
💡 Tip: Take your time to explore different style and theme combinations. Previewing themes by hovering helps you make an informed decision before finalizing your choice.
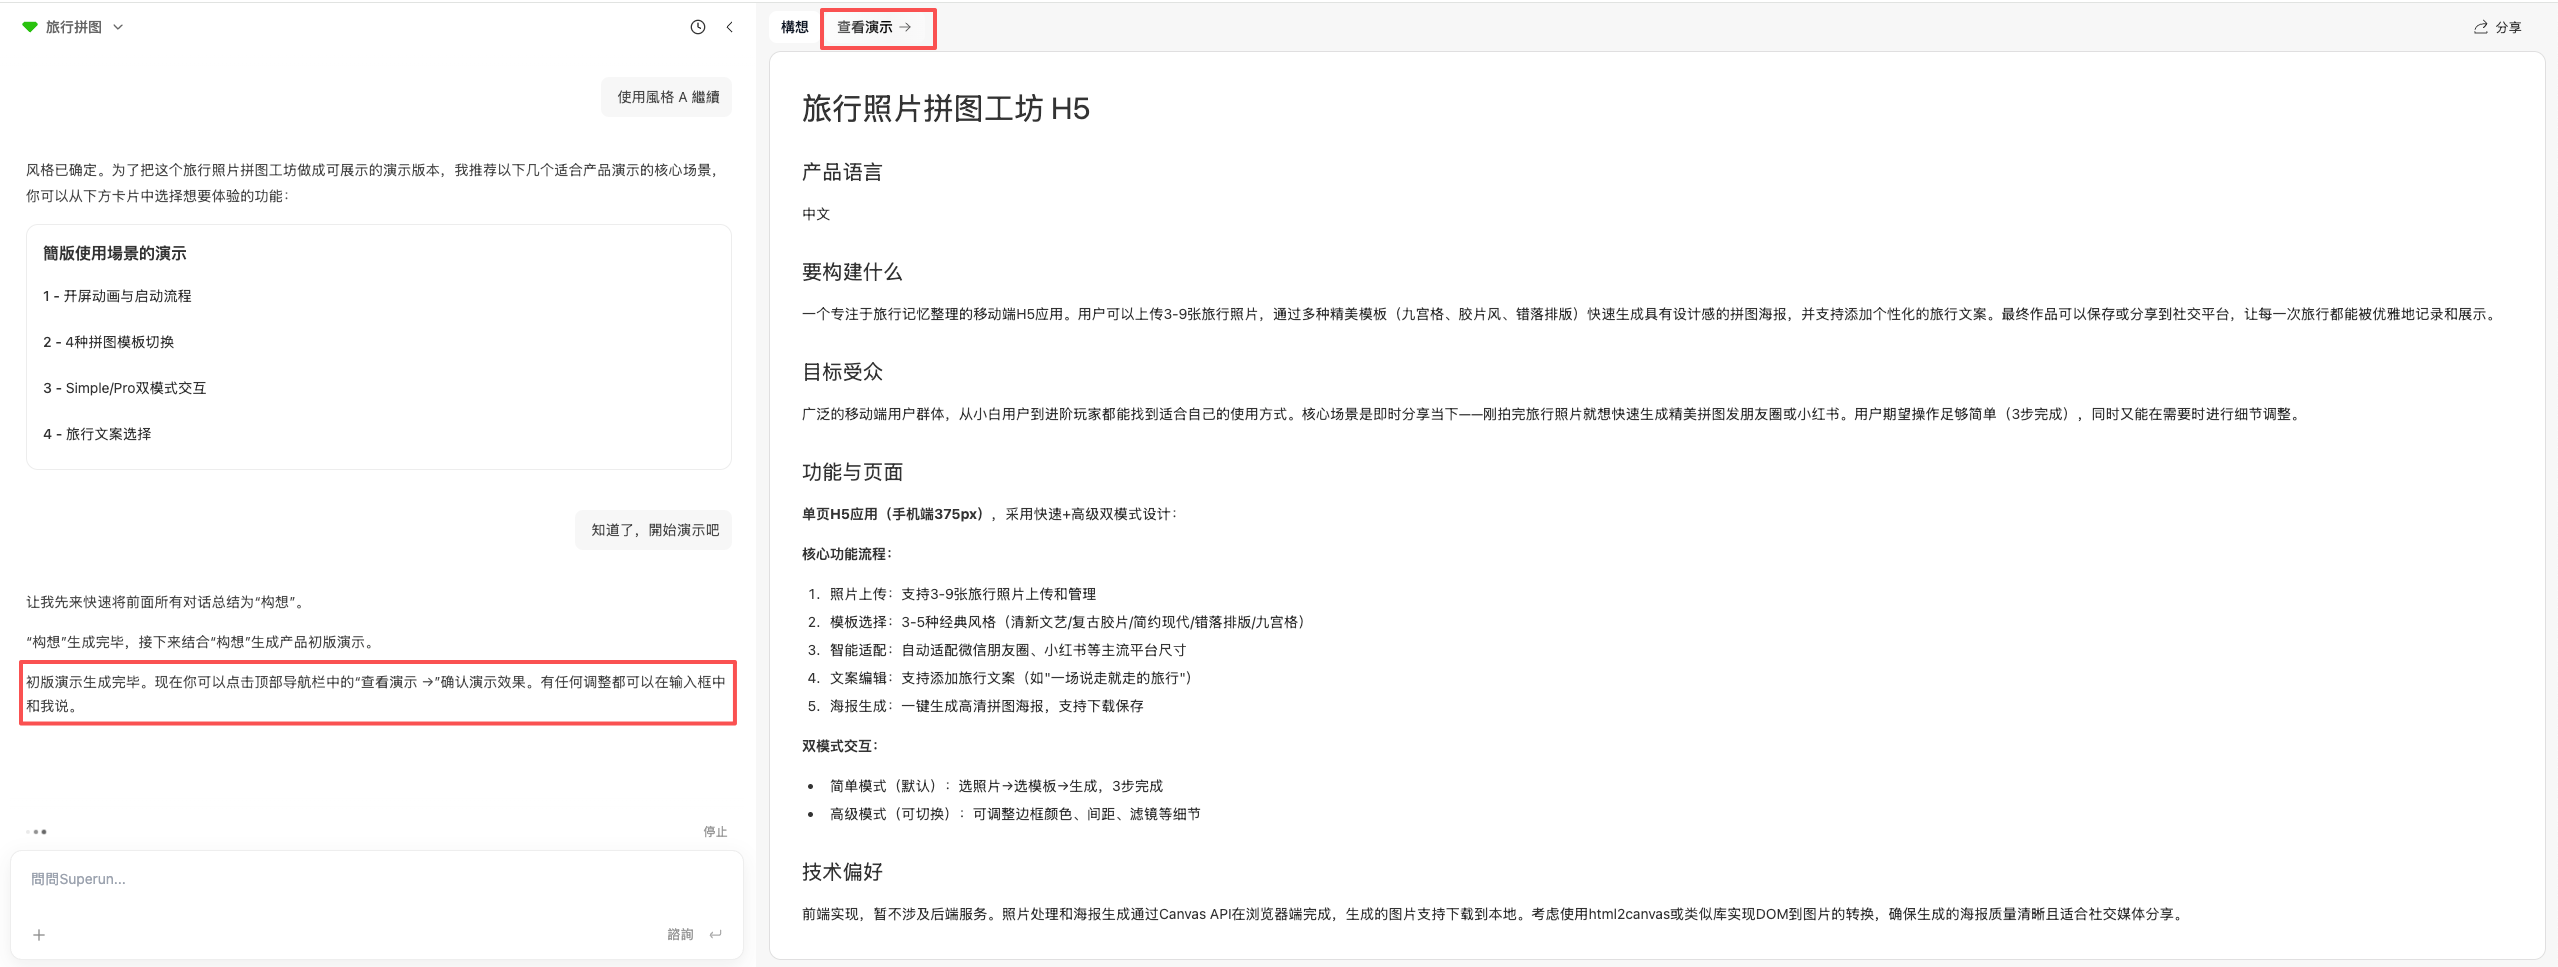
Generate demo version
After the style generation is complete, you can choose to generate a demo version to preview how the application works.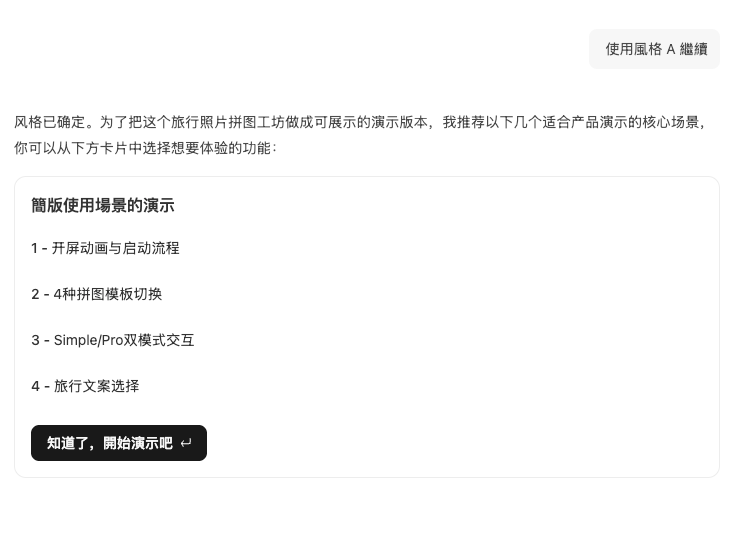 Demo version features:
-
Click the “Got it, start demo” button
- After style generation is complete, click this button to generate a demo version
- The demo version uses system-generated test data
-
Experience application features
- The demo version is the simplest demo version
- You can switch pages and perform basic operations
- Helps you understand how the application works and its interaction flow
-
Verify design effects
- Through the demo version, you can visually see the actual effects of the application
- Verify whether the design meets expectations
- Confirm whether the functional flow is reasonable
-
View and confirm demo
- After the demo is generated, there will be a reminder in the conversation flow
- Click “View Demo →” in the top navigation bar
- You can then confirm the demo effects
Development stage
- Choose next steps after viewing demo
- After viewing the demo, you can select the features you need
- Click “Generate demo first” to generate a more detailed demo based on selected features
- Click “Generate demo and development” to directly generate real features with real data based on selected features, and it will provide a subsequent feature list
- Alternatively, click “Next step, development” in the navigation bar to directly generate a feature list
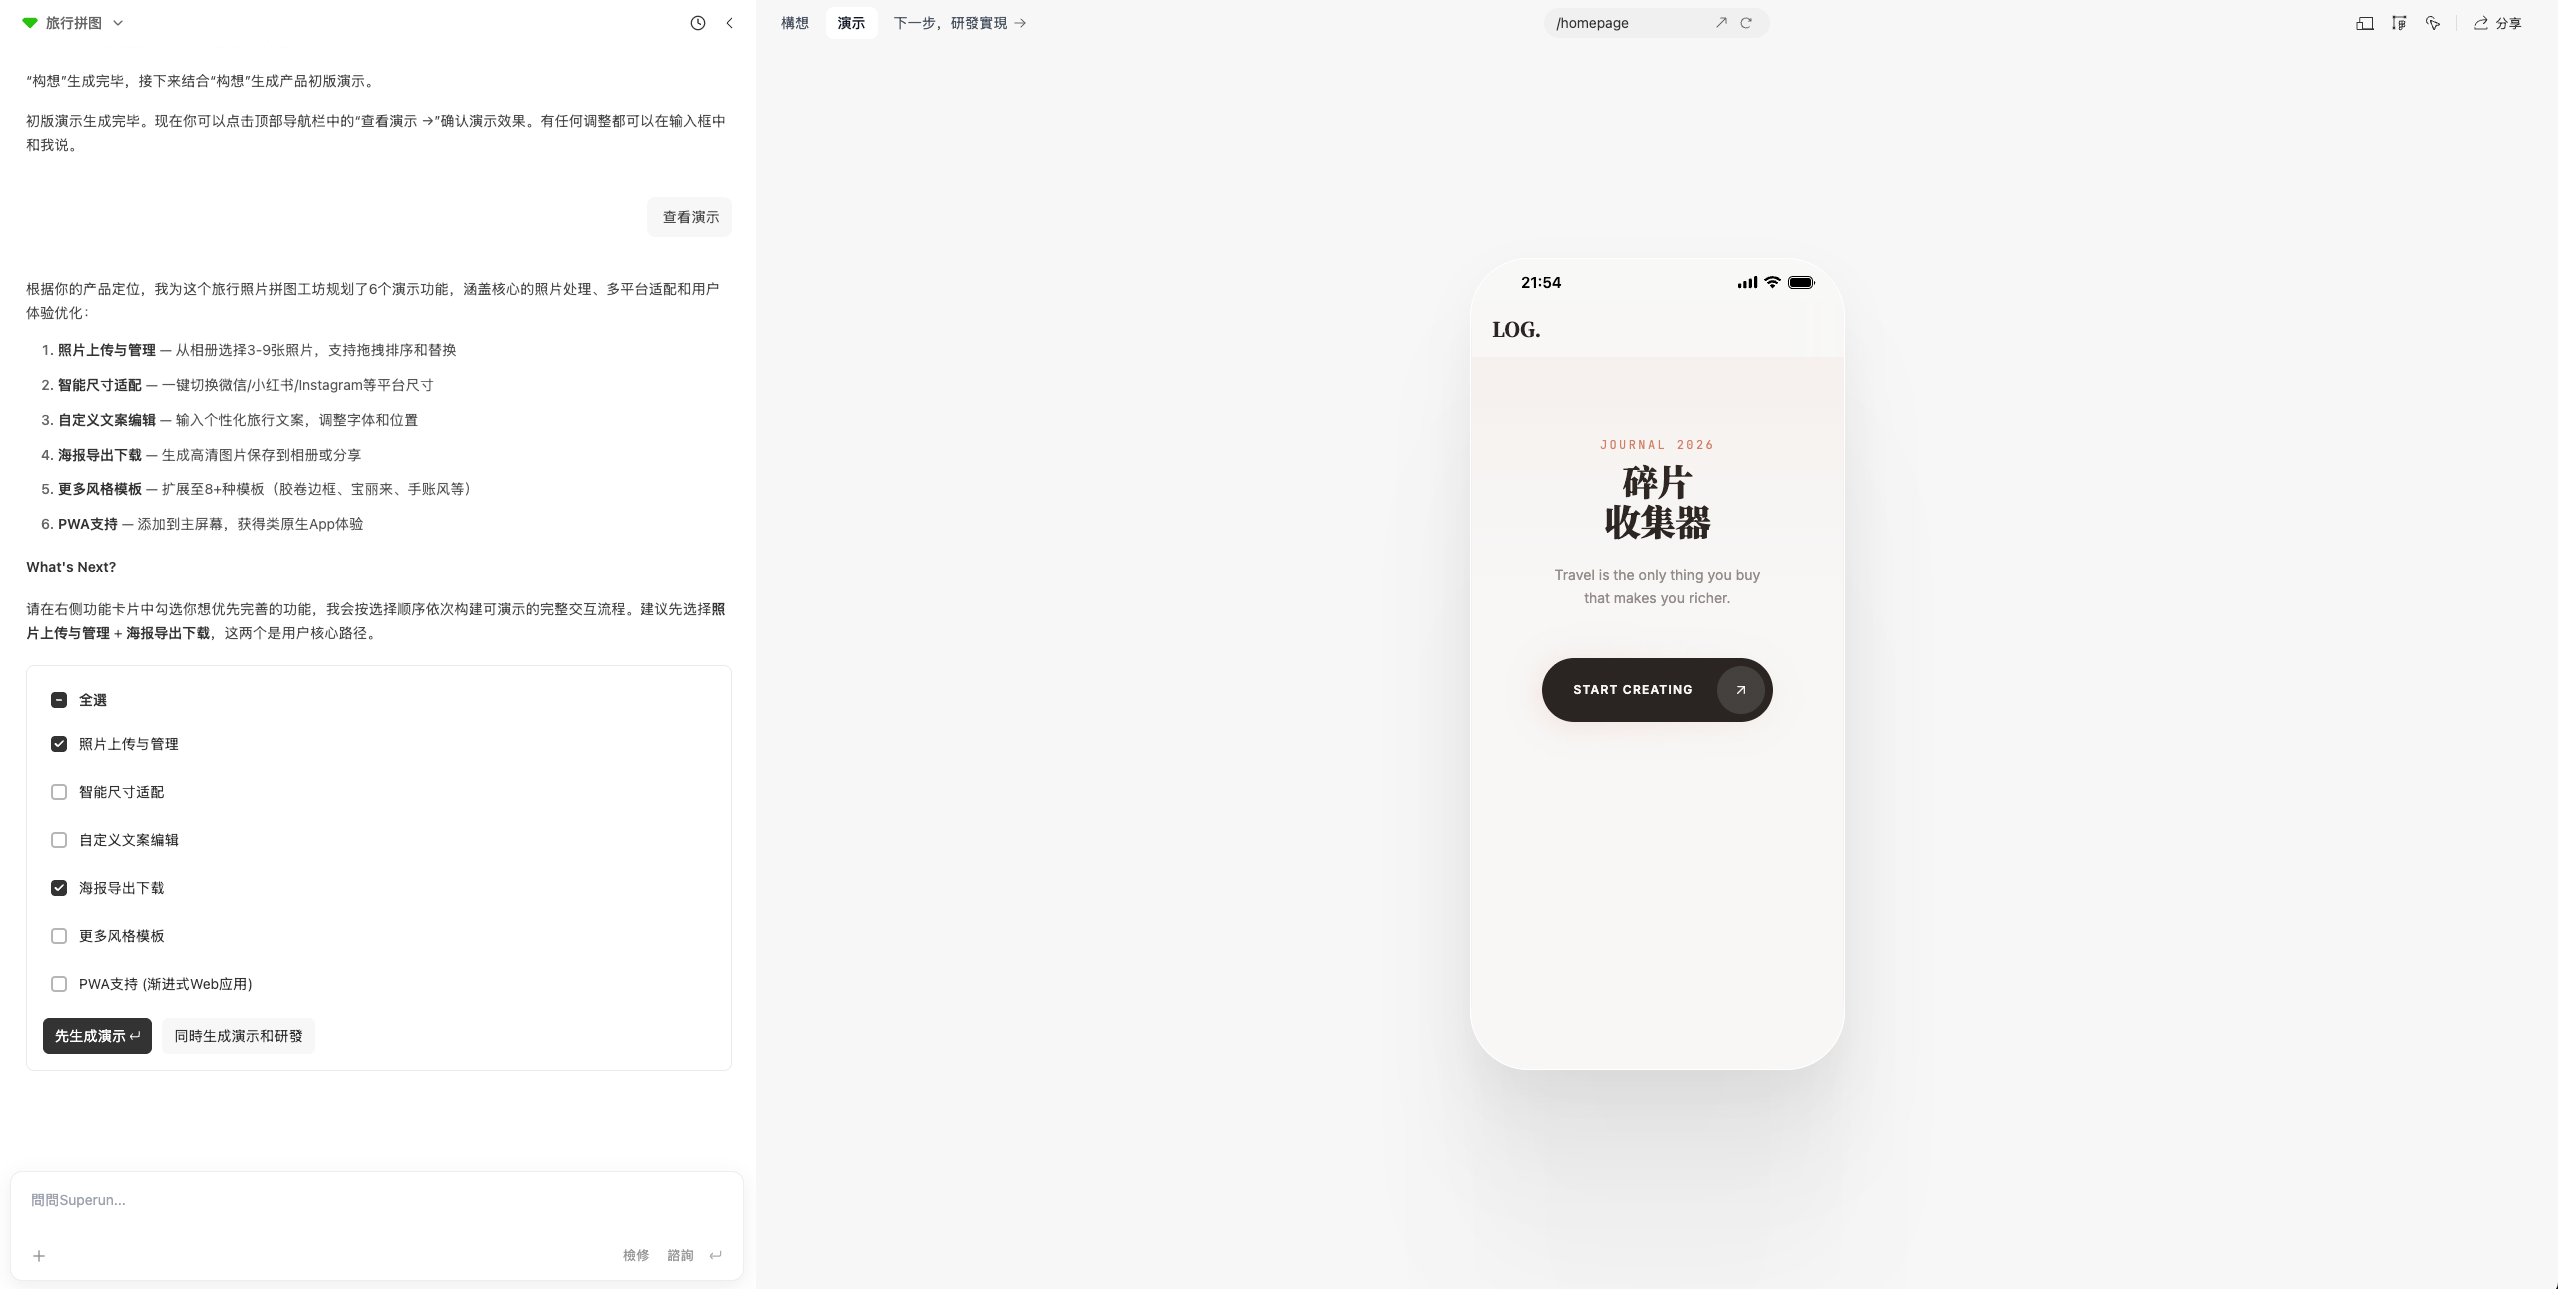
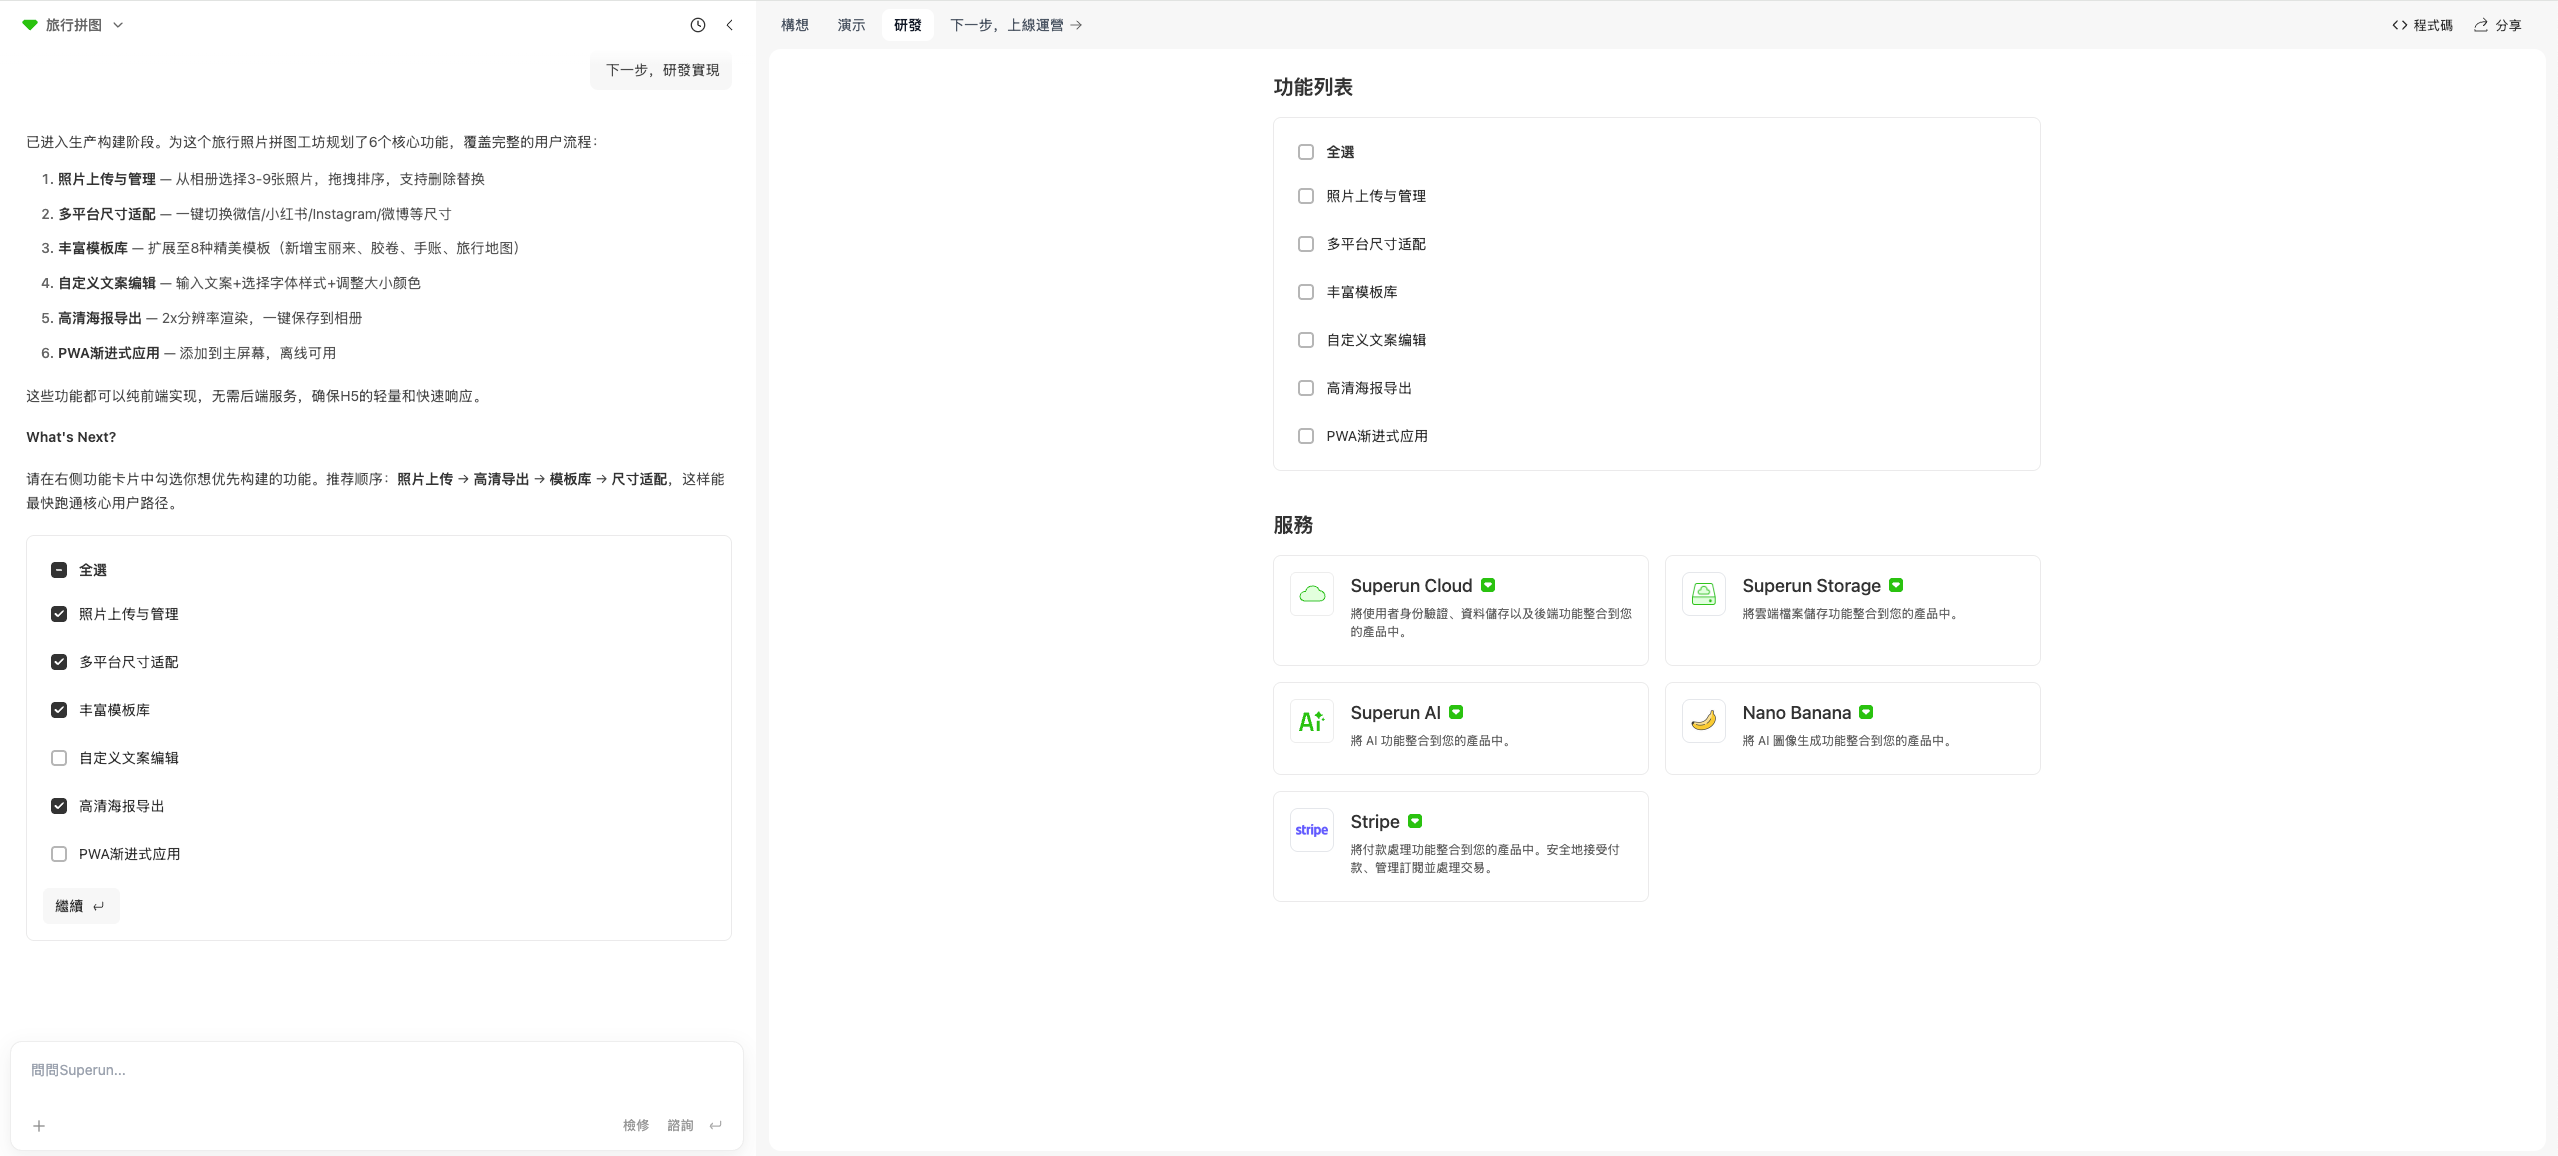
- Select features during development stage
- In the development stage, you can select features to implement based on the model’s recommended order
- You can also select all features at once to implement everything
- Choose the features that meet your needs
- You can make selections and continue directly in the conversation flow
- You can also make selections in the development tab
- After selecting and continuing, just wait patiently—superun will implement the features based on your selections
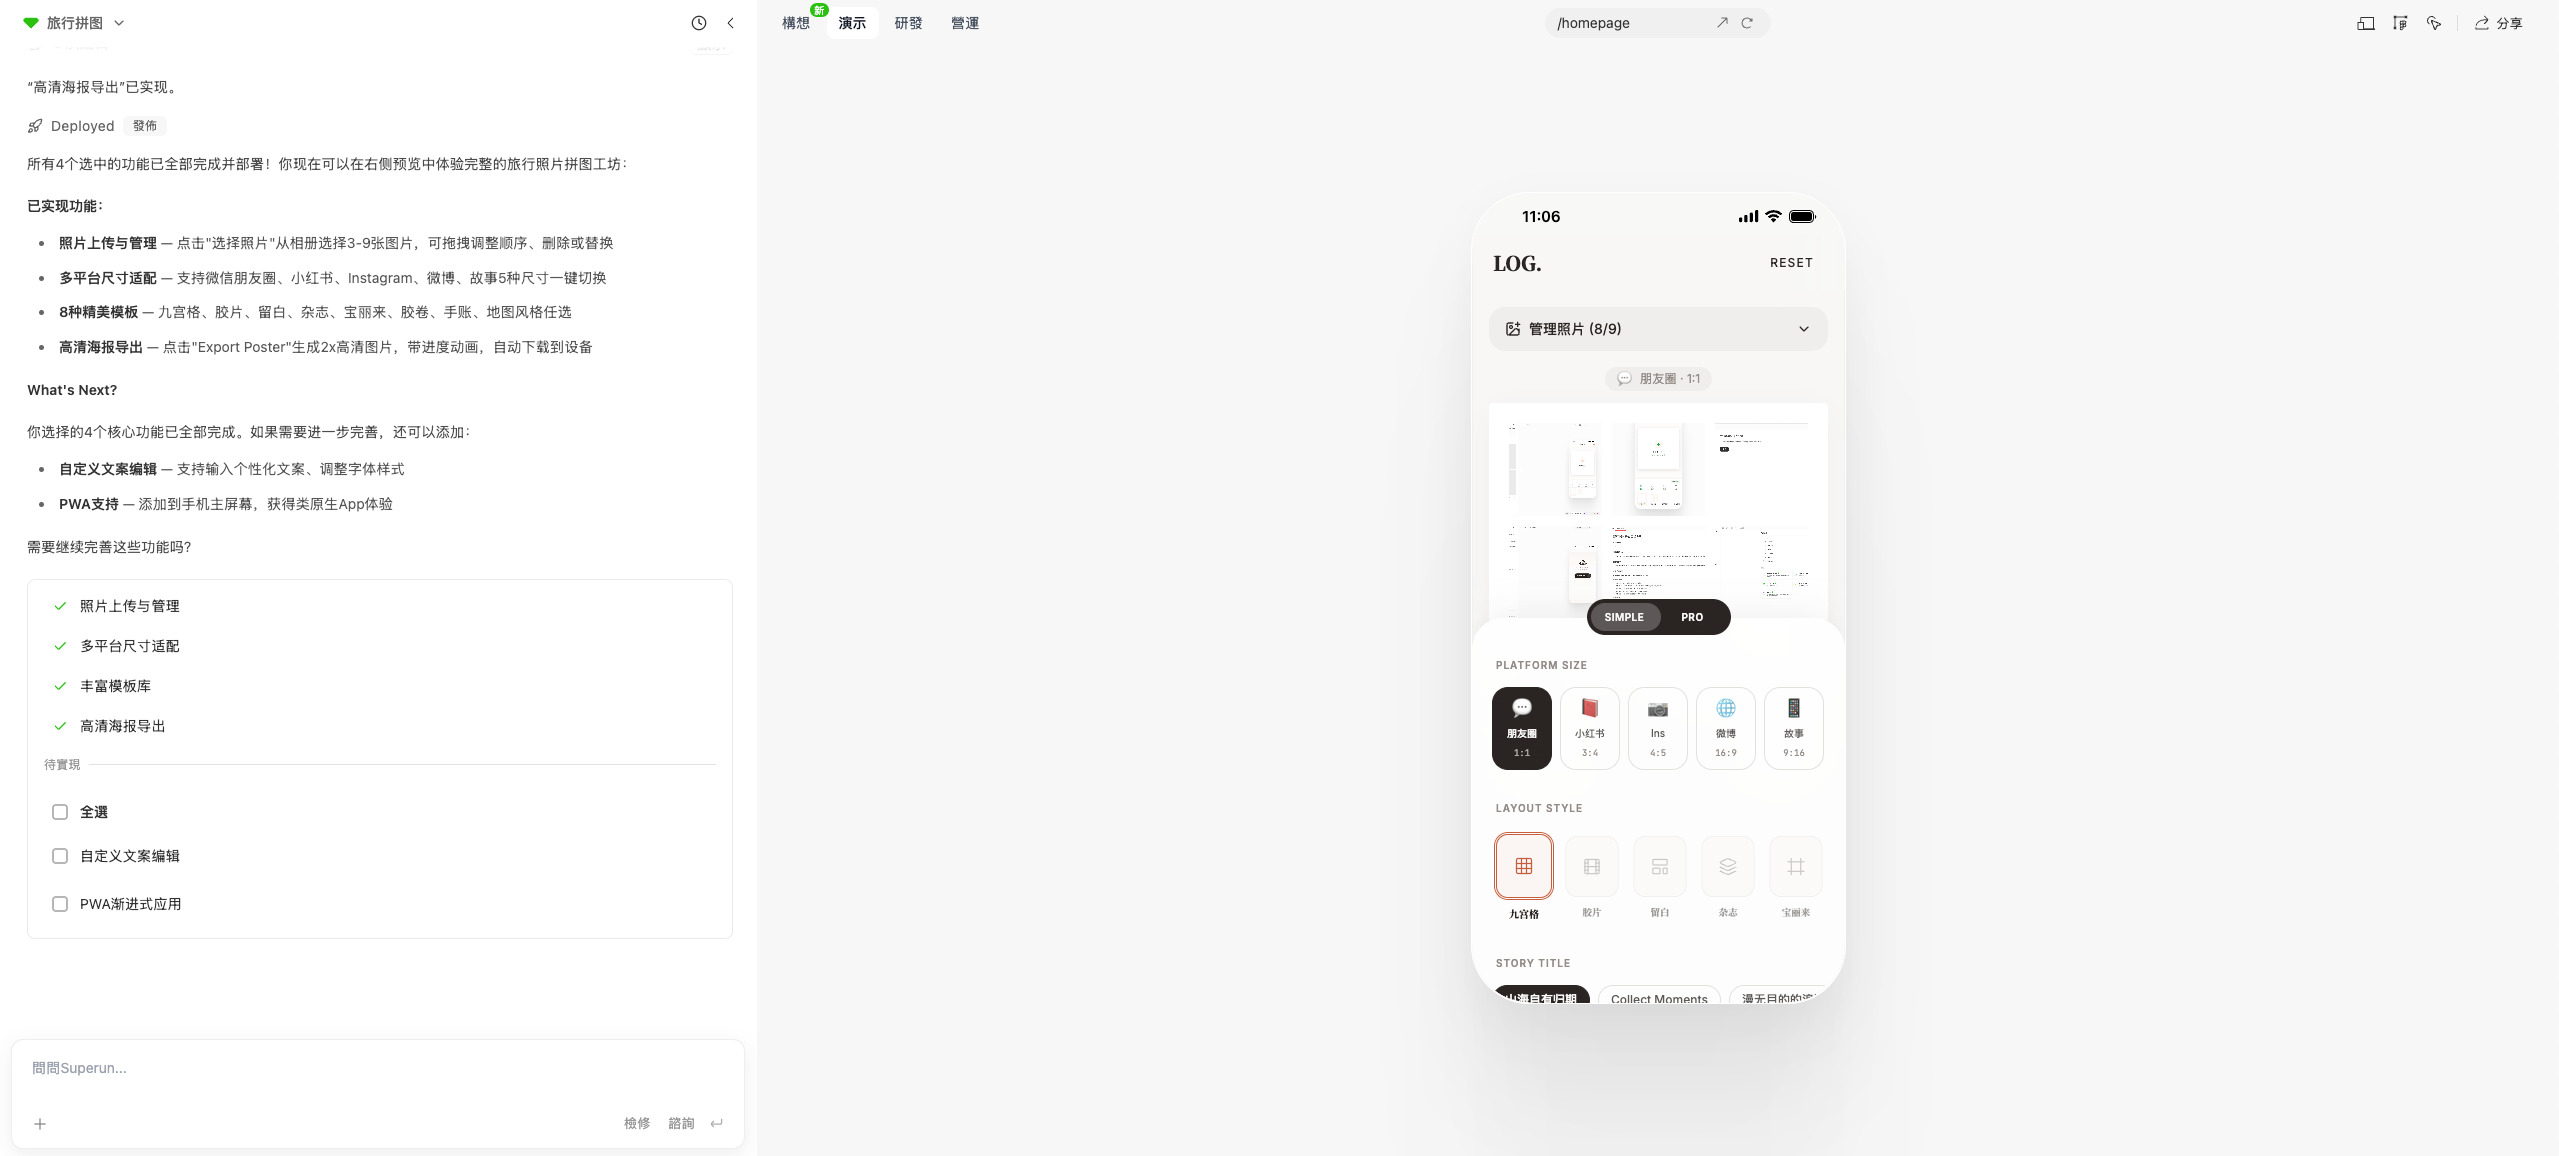
- Feature acceptance and continued development
- After selected features are developed, you can test and accept the implemented features
- If there are any issues, directly raise them in the conversation and let superun make modifications until they meet your expectations
- Once features are working properly, you can continue selecting remaining features, choose to continue, and proceed with development
- You can also propose your own requirements in the conversation and let superun implement them
- Route switching feature
- During development, if you find that backend management or other standalone route pages cannot be accessed through page clicks
- You can use the route switcher in the middle of the navigation bar, which will show a dropdown list
- Select the corresponding page route to directly navigate to that page

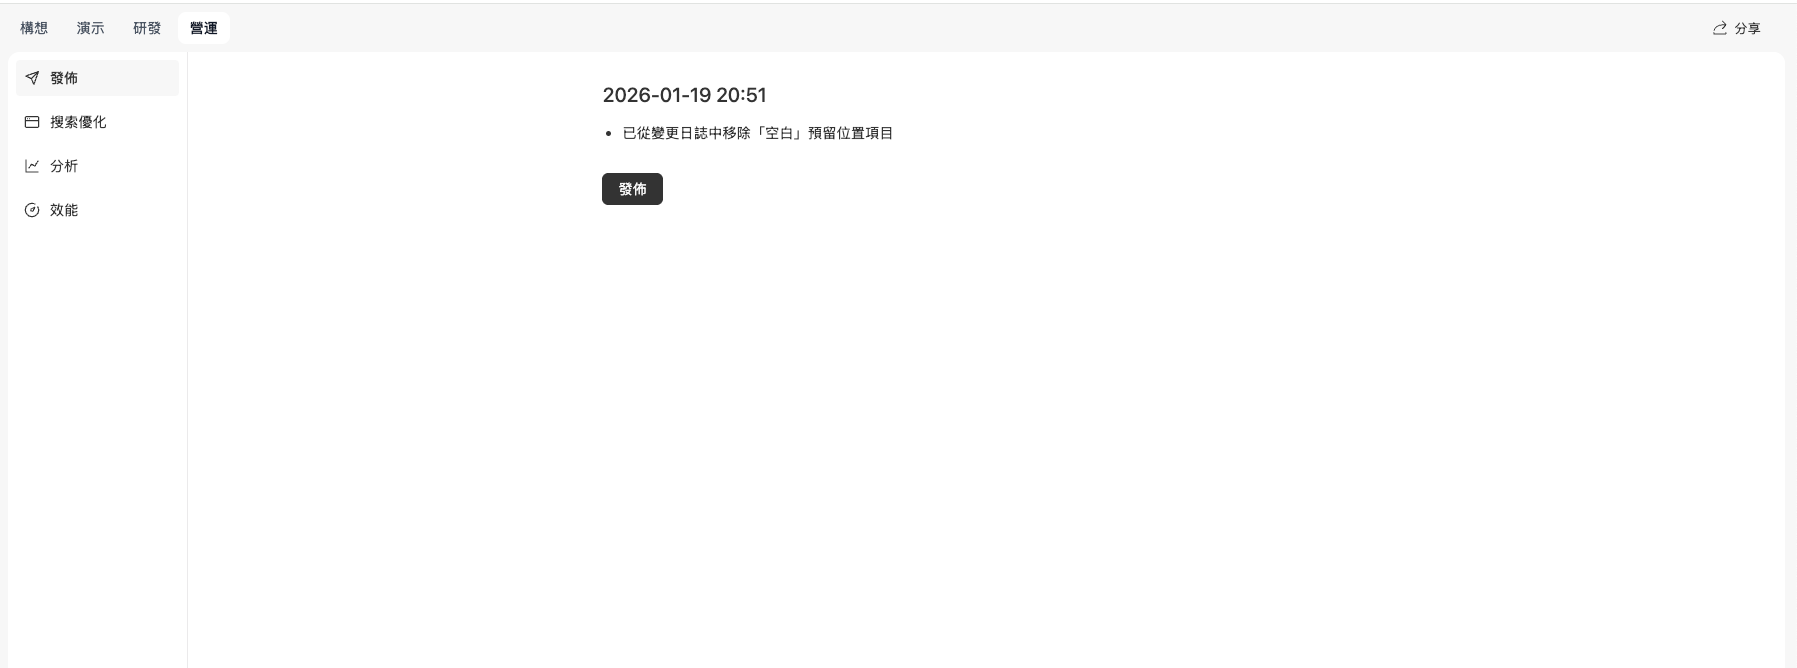
Launch and operations
- Click “Next step, launch and operations” to access launch-related features
- You can view and manage publishing, search optimization, analytics, and performance
- All features are related to launching your application
- You can launch your application with one click
- Optimize search content and more
💡 Tip: The demo version is a great way to quickly validate design and functionality. Before generating the full application, understanding how the application works through the demo version can help you better adjust your requirements.
When there’s a bug, don’t let AI thrash—understand first, then fix
When the site has errors or hangs, understand the problem before fixing—don’t edit blindly. Common situations:- Site errors or hangs—try Fix a few times (click the Fix button); it usually resolves itself
- Refreshing won’t lose data; the model can be unstable—the work is done but the page hasn’t updated
- Understand the issue: Copy the error and ask AI: “What does this mean? Where might the problem be?”
- Confirm approach: Discuss possible solutions with AI
- Then fix: Have AI make changes only after you’ve confirmed the approach
- ❌ Asking AI to randomly change things as soon as you see an error
- ❌ Modifying without analyzing the problem
- ❌ Making multiple changes in a row that make things worse
- ✅ Understand the error message first
- ✅ Analyze the root cause
- ✅ Plan the fix
- ✅ Then execute the change
Use version history rollback
If your project has issues or you want to return to a previous stable state, use version history rollback. Use cases:- Recent changes broke functionality
- Want to return to a previous stable version
- Compare different version effects
- Test different implementations
- Go to your project’s version history page
- Review all version records
- Select the target version to roll back to
- Click “Rollback to this version” or “Restore this version”
- Confirm the rollback
- System will restore to the selected version state
- Rollback will lose all changes between current and target versions
- After rollback, you can continue building from the restored state
- If your project is connected to a database, watch for data compatibility issues
💡 Tip: Create version pins frequently so you can quickly roll back to stable states when needed.
Prompt Writing Tips
Use chat mode to think through structure first, then let AI build
Think before you build—don’t generate everything at once. The right flow: Step 1: Chat first (click Ask in the input box):- Discuss ideas
- Think through structure
- Ask “Does this make sense?”
- Confirm direction and details
- Have AI generate or modify
- Build based on the discussion
- Ensure direction is correct
- Avoid generating things that don’t match your needs
- Save Credits (chat mode uses fewer Credits)
- Catch issues early
- Clearer thinking
Stage 2: Design
Image Tips
Upload images directly in chat
Upload images directly in chat, and AI will insert and style them automatically. Steps:- Select upload image in the chat box
- In your prompt, describe where and how large the image should be
- AI will insert and adjust styling automatically
- Add product images
- Insert brand logos
- Upload reference designs
💡 Tip: You can upload multiple images at once—just describe each image’s purpose in your prompt.
Replace images using the Design Editor
Use the Design Editor to visually swap images—what you see is what you get. Steps:- Click the “Design Editor” button in the top navigation
- Select the image placeholder you want to replace
- Choose a new image to complete the replacement
- Visual operation, intuitive
- Real-time preview
- No code changes needed
Upload project images to superun storage
Upload project images to superun storage, then reference the storage path in prompts. Steps:- Create a storage bucket in superun storage (if needed)
- Upload image files
- Get the image storage path
- Reference the path in prompts
- Centralized project resource management
- Easy version control
- Faster loading
superun Storage Guide
Complete superun Storage tutorial with detailed instructions on uploading files, managing assets, and using storage resources in your applications.
UI Design Tips
Use the Design Editor to quickly adjust styles
Use the Design Editor to quickly tweak colors, typography, spacing, and more. What you can adjust:- Text content and styling
- Colors and backgrounds
- Fonts and sizes
- Spacing and layout
- Responsive settings
- Click the “Design Editor” button in the top navigation
- Select the element to modify
- Adjust properties directly
- See results in real time
Advantages of visual editing
Visual editing is faster and safer than changing code. Advantages:- Faster: Direct manipulation, no code needed
- Safer: Won’t break existing features
- Real-time preview: See effects immediately
- Easy to adjust: Can modify repeatedly
- Adjusting styles and layouts
- Modifying text content
- Replacing image assets
- Optimizing responsive design
Mobile device limitations
When using superun on mobile devices, some features have limitations. What you can do on mobile:- View and browse projects
- Select styles and continue with generation
- Basic project navigation
- Design theme editing
- Visual design editor
- Advanced editing features
Stage 3: Development
Automation Features
superun provides multiple automation features to make development simpler and more efficient. Automation capabilities:AI models directly integrated
- Plug AI models directly into your product without wiring the backend yourself
- No API key configuration needed
- Ready to use out of the box
Auto-deploy to the cloud
- Auto-deploy to the cloud—no server management
- No server environment setup needed
- One-click publish
Images and videos auto-stored
- Images and videos auto-stored, ready to use in your site
- Centralized resource management
- Auto-optimized
Text-to-image tool (nano banana)
- Built-in text-to-image tool
- No external services needed
- Generate images quickly
Auto-configure common features
- Auth, billing, and other common flows auto-configured
- Less repetitive work
- Faster launch
Knowledge Management Tips
Use Custom Knowledge to document project info
Use Custom Knowledge to document product vision, user journeys, core features, and more. What to document:- Product vision: Core value and goals
- User journeys: Complete user workflows
- Core features: Main feature modules and capabilities
- Design rules: Design standards and constraints
- AI continuously references this knowledge
- Maintains project consistency
- Improves generation accuracy
Define roles and boundaries
Define roles and boundaries (Admin/User/Investor, etc.) so AI generates code with the right permissions. What to define:- Role types: Admin, regular users, visitors, etc.
- Permission boundaries: Features each role can access
- Data isolation: Data scope each role can see
Generate project knowledge base
Generate a knowledge base for your project based on implemented features. Ask AI example:- Project overview
- Feature list
- User role definitions
- Design standards
- Technical architecture
Save what works and reuse it next time
Every time you find:- A prompt that works really well
- A structure AI understands well
- A step that rarely breaks
- Save it for next time
- Record in project knowledge base
- Organize into prompt templates
- Store in Custom Knowledge
- Improved efficiency
- Maintained consistency
- Fewer errors
- Quick reuse of successful patterns
💡 Tip: Regularly organize and update these patterns to build your own best practices library.
Database Integration Tips
Validate database schema before rollback
Validate database schema compatibility before rolling back to avoid data issues from incompatible versions. Validation steps:- Check current database schema
- Compare with target version schema
- Check for breaking changes
- Migrate data first if needed
Version Management Tips
Pin each known-good state
superun automatically records version history at each important milestone—no need to manually create version tags. How it works:- After you complete an important feature or make changes, the system automatically creates a record in version history
- Each version contains the complete project state and can be viewed or rolled back anytime
 Best practices:
- After completing an important feature, test to ensure it works
- The system automatically saves the current state to version history
- View all milestone records in version history
- Roll back to any historical version anytime
- Easily compare differences between versions
- Automatic project progress tracking—no manual management needed
💡 Tip: Version history is saved automatically. Just focus on development, and the system manages all version records for you.
Use version diffs to locate issues
When issues arise, quickly pinpoint the problem by comparing differences between versions. Steps:- Go to your project’s version history page
- Select two versions to compare (usually a stable version before the issue and the current problematic version)
- Review the diff list—the system highlights all changes
- Identify potential problem points based on the changes
- Fix targeted issues
- When comparing, choose versions with a smaller time gap to make it easier to locate issues
- Focus on recently modified files and feature modules
- For complex issues, compare multiple versions step by step to narrow down the problem
💡 Tip: The version comparison feature clearly shows changes in code, configuration, and structure, making it an effective tool for troubleshooting.
Use version rollback when stuck in error loops
When your project is stuck in error loops or becomes messy, use version rollback to quickly return to a previous stable state. Use cases:- Messy project structure that’s hard to fix
- Too many errors with high fix costs
- Want to try a new approach, need to restart from a stable version
- Need to return to a version where everything worked
- Go to your project’s version history page
- Review all version records and find a stable version where everything worked
- Select the target version
- Click “Restore this version”
- Confirm the rollback
- The system automatically restores to the selected version state
- Continue development from the stable version
- ⚠️ Important: Rollback will lose all changes between the current and target versions. Proceed with caution.
- If your project is connected to a database, check data compatibility before rolling back to avoid schema mismatches
- After rollback, you can continue making new changes from this stable base
⚠️ Note: Check database connection compatibility before rolling back.
Email Service Configuration (Optional)
Configure Email Service with Resend
Resend is a modern email API perfect for sending transactional and marketing emails in your projects. Steps to get your API key:- Go to resend.com and sign up
- Verify your email address
- Go to API Keys in your Resend dashboard
- Click Create API Key
- Give it a name (e.g., “superun App”)
- Copy the API key (starts with
re_) - Keep it secure and never expose it in client-side code
Resend Integration Guide
Complete Resend integration tutorial with API configuration and usage instructions.
Configure SMTP with Personal 163 Email
If you need email service in your project, you can quickly configure SMTP using a personal 163 email. Use cases:- Product validation phase
- Internal notifications
- Testing email functionality
- No business credentials needed
- Simple and fast setup (5 minutes)
- Low cost
Configure SMTP with Personal 163 Email
Complete 163 email SMTP configuration guide with detailed steps, environment variable setup, and troubleshooting.
Speech Engine Configuration (Optional)
If you need speech-to-text (ASR) and text-to-speech (TTS) in your project, you can integrate mainstream speech engines. Supported engines:- Baidu Intelligent Cloud
- iFlytek Open Platform
- Volcano Engine
- Alibaba Cloud
Speech Engine Integration Guide
Complete speech engine integration tutorial with detailed configuration for all four engines, code implementation, and notes.
Development Tools Tips
html2canvas element alignment fix
When using html2canvas, elements may misalign compared to browser rendering. The problem: html2canvas element alignment differs from actual browser rendering. Solution: Dynamic CSS injection Fix alignment by injecting temporary fix styles and controlling render parameters.| Parameter | Recommended Value | Purpose |
|---|---|---|
foreignObjectRendering | false | Disable foreignObject rendering, use traditional Canvas drawing to avoid alignment issues from SVG rendering differences |
box-sizing | border-box | Unified box model calculation (includes padding/border) to avoid size calculation errors from default content-box |
line-height | 1.2 | Fixed line height to eliminate vertical alignment shifts from dynamic line height changes |
img { display } | inline-block | Avoid baseline alignment issues from img default inline element vertical-align: baseline |
- Configuration consistency: All export scenarios (single export, batch export) should use the same config to avoid alignment issues from different rendering logic.
-
Wait adequately: After changing page state (dynamic content loading, style changes), wait at least
1000msbefore capturing to ensure DOM and styles are fully stable. -
Clean up promptly: Use
try...finallyto ensure temporary fix styles (export-fix-style) are removed after capture to avoid polluting normal page styles. - Test thoroughly: Cover “single export,” “batch export,” “complex layouts (images/text/nested elements)” to verify alignment consistency.
Stage 4: Launch
Stage 5: Troubleshooting
Data Issues
Data keeps reverting automatically
Data keeps reverting? Use a separate admin panel for data management and separate model logic. Cause: Model code reinitializes old data when data loading fails. Solution:- Use separate admin for data: Separate data management from model logic
- Let model modify data directly: Ensure data modifications are handled directly by the model
- Use version control to save important states
- Regular data backups
- Implement data persistence mechanisms
Let the model modify data directly
Let the model modify data directly to reduce intermediate layers. Benefits:- Fewer data inconsistencies
- Lower error rate
- Simpler data flow
- Model directly operates database
- Avoid multi-layer data conversion
- Unify data modification entry point
API Error Issues
AI feature errors
AI features failing? Check if request header parameters match request body serialization format. Common issues:- Headers causing body serialization issues
- Content-Type mismatch
- Data format errors
- Check request header parameters in API requests
- Have AI identify unnecessary header parameters
- Ensure header and body serialization formats match
- Remove unnecessary header configurations
Ensure Content-Type matches
Remove unnecessary request header parameters and ensure Content-Type matches. Check points:- Is Content-Type correct?
- Does request body format match?
- Is encoding consistent?
- JSON data but Content-Type is text/plain
- Form data but Content-Type is application/json
- Encoding mismatch
Credits Issues
Session errors after Credits top-up
Session errors after topping up Credits? Check logs → use Fix → retest. Fix steps:- Check logs: Review system logs to confirm specific error after Credits top-up
- Use Fix: Click the Fix button in superun to handle the error state
- Retest: After fixing, retest to confirm session continues normally
- Check account status before topping up
- Wait for system sync after topping up
- Contact support if issues persist
Deployment Issues
superun generates web apps
superun generates web applications, not native applications. Notes:- superun currently only generates web apps
- Cannot directly generate iOS or Android native apps
- Can adapt for mobile via responsive design
- Responsive design
- Progressive Web Apps (PWA)
- Hybrid app frameworks
Admin system deployment
Need admin management features? superun adds admin routes in the same project. The key is configuring access permissions correctly. How it works:- superun adds admin management routes and pages to your project
- Admin features run in the same project as your main app, sharing the same domain and deployment address
- Frontend and admin are distinguished by route paths (e.g.,
/adminor/dashboard)
- Set up authentication: Ensure admin pages require login to access
- Define role permissions: Distinguish between admins and regular users—only admins can access admin features
- Protect sensitive routes: Use route guards or middleware to protect admin-related routes
- Limit data access: Ensure admin can only view and modify authorized data
- Ask superun to generate an admin management system (it will add the corresponding routes and pages)
- Configure authentication and permission controls
- Test access permissions to ensure only authorized users can access
💡 Tip: The admin system is part of your project and doesn’t require separate deployment. The most important thing is to configure access permissions correctly to prevent unauthorized access.
Mobile experience optimization
Mobile experience? Use responsive design or Progressive Web Apps. Responsive design:- Adapt to different screen sizes
- Optimize touch interactions
- Adjust layout and font sizes
- Can be added to home screen
- Support offline access
- Provide near-native experience
- Push notification capabilities